I use the current Tumblr widths, so 540px for full and 268px for half (I rarely do thirds but if so, 178px). In terms of heights, I tend to go for 268px for the full just because I like the symmetry, but I might go higher or lower depending on the source, and same for half width gifs.
Hi! Do you have any tips for colouring For Life?
Hey! Um, hmm, not really? I don’t do anything specific for any show, I just tend to bring all colors near “normal” by clicking around with the gray eyedropper in Curves until I land on something I like?
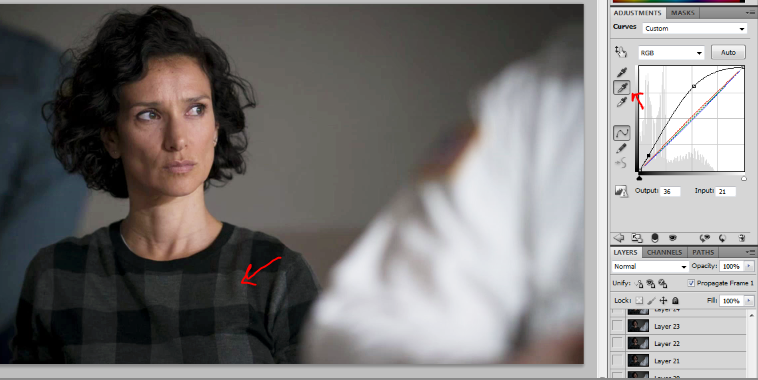
Here I clicked on her shirt. And it can be different for different scenes within the same ep. For this show I guess I’ve tended to go warmer to make up for the greener and bluer colors in the prison but mostly just brightening it overall. I haven’t increased the saturation for this show, but that’s an option.
Hi! I need your help. I want to make gifs for this web series I’ve been watching but I’m not sure how to do it. Do you have any suggestions?
Sure, what part are you stuck on? If you’re looking at it from the very start, there are three major steps, I’d say:
1. Obtain the episodes: You mind find rips of it online, if you know where to look, possibly with 720p/1080p or mp4/mkv in your search terms, or you could try to download it directly, using various tools.
2. Clip the part you want: I actually use Xilisoft’s free trial to get the part I want, since the only limitation on the free version is length and I never need more than three minutes, but there’s Handbrake and VLC Player and a variety of free tools out there.
3. Actually creating the gif: I use Photoshop CS5, import the clip, do whatever modifying with Curves and add text if necessary, and then Save for Web.
There are a variety of gif tutorials out there, everyone has different methods for literally each of these parts, so you may want to try different approaches, or come off anon and I could help you more specifically.
Hi, hope you’re having a great day. Juliantina have stirred me and finally got me to get a photoshop subscription and learn how to GIF. Your GIFs are so good and I’m struggling but I like it lol. Was wondering what font you use coz I can’t find one that I find satisfactory and the one you use looks so good.
Aw, thank you, I am, and I hope you are too. 🙂
Wow, a Photoshop subscription?? Anon, you’re not playing. Juliantina really are like that. And thank you! My gifs are whatever but definitely improved from where I started, practice helps loads.
I just remembered I have a giffing stuff tag where I answered some questions including this one, so I’ll just paste that here:
I’m super cliche and use Calibiri, Bold Italic, anti-aliasing set to Strong. I’ve tried different fonts over the years, Arial, Candara, and Corbel all look good in Bold Italic for gifs, but this is the one I kept with after all the computer-switching and Photoshop-reinstalling.
You’ll want to play around with effects like Stroke and Drop Shadow so that it isn’t just a single color that could blend in with the background.
what font do you use for your gifs?
I’m super cliche and use Calibiri, Bold Italic, anti-aliasing Strong. I’ve tried different fonts over the years, Arial, Candara, and Corbel all look good in Bold Italic for gifs, but this is the one I kept with after all the computer-switching and Photoshop-reinstalling.
last question, sorry if i’m annoying, what do you change if the gif is too big of a size for tumblr? (as in its over 1MB) again, sorry if i’m annoying you
You’re not annoying, no problem at all, but you know the limit is 3MB for tumblr now, right? Well, it can safely post when it’s up to 2.994MB on my Photoshop, anyway.
There are a variety of ways to get it down to size. Let’s see:
1)
In my previous post, I mentioned how sometimes I’d go for the Limit to Every 2 Frames option when importing video frames sometimes. That halves the number of frames which makes a huge impact on filesize. But it may not be the look that you want. Here’s a gif with every frame left in:

And now every 2 frames:

Still lovely (how could that face not be!) but certainly not the fluid smoothness of the first one either.
2) Remove any extra frames you can. You can also remove frames from the beginning or end of a scene or if there’s a camera switch in the middle, you could remove frames right before or after the switch without it looking too jarring.
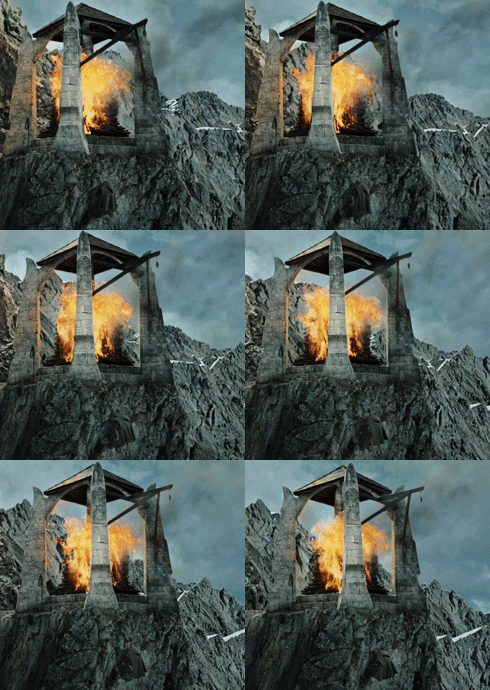
I actually have a fun actual example of this one. Way back in 2011, when each gif could only be 500KB, I made a gifset for the Lightning of the Beacons scene in the Lord of the Rings. This is one of the gifs then, found on somebody’s reblog of it, lol:
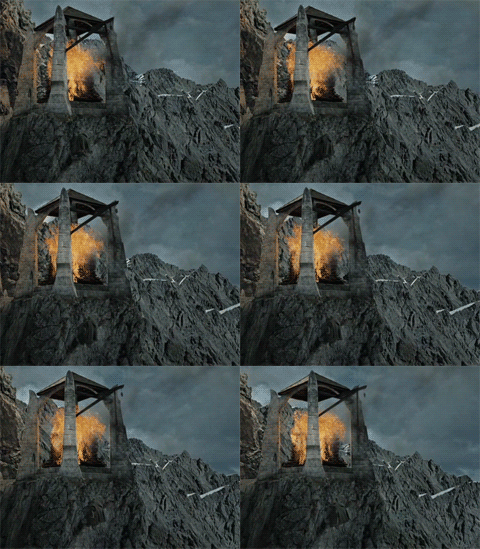
And here a couple of years later, redone when the limit was raised:
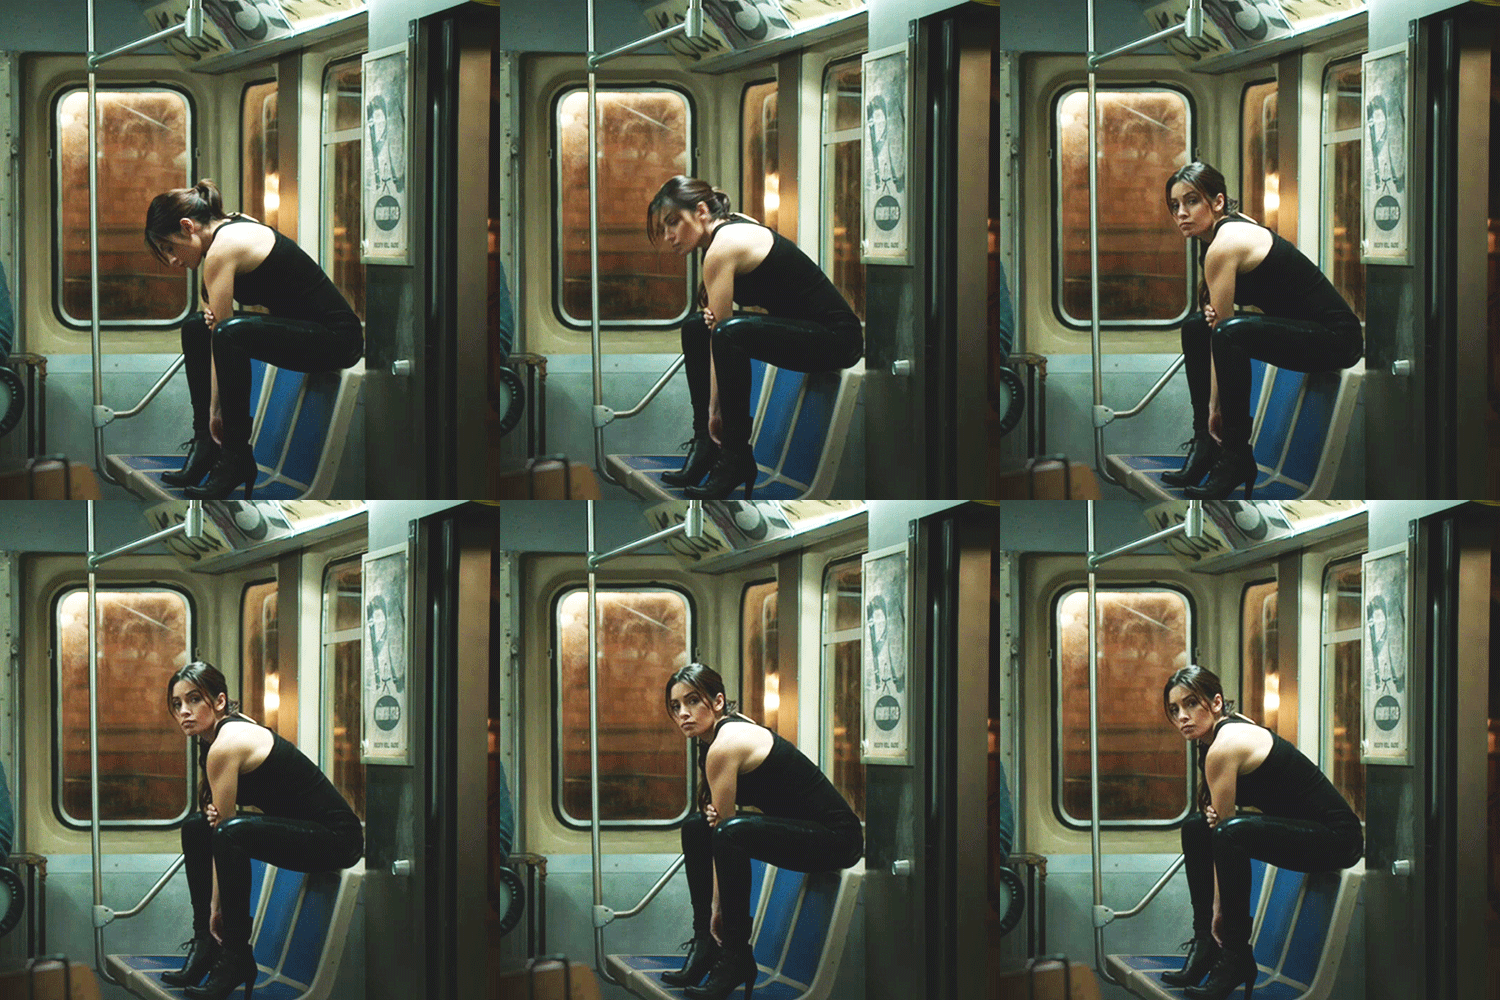
3) Crop it shorter, height-wise. As in, you know the width has to be set at Tumblr specifications, 540/268/177 pixels wide for each of the full/half/third image layouts, respectively, but the height is up to you. Big difference between
and
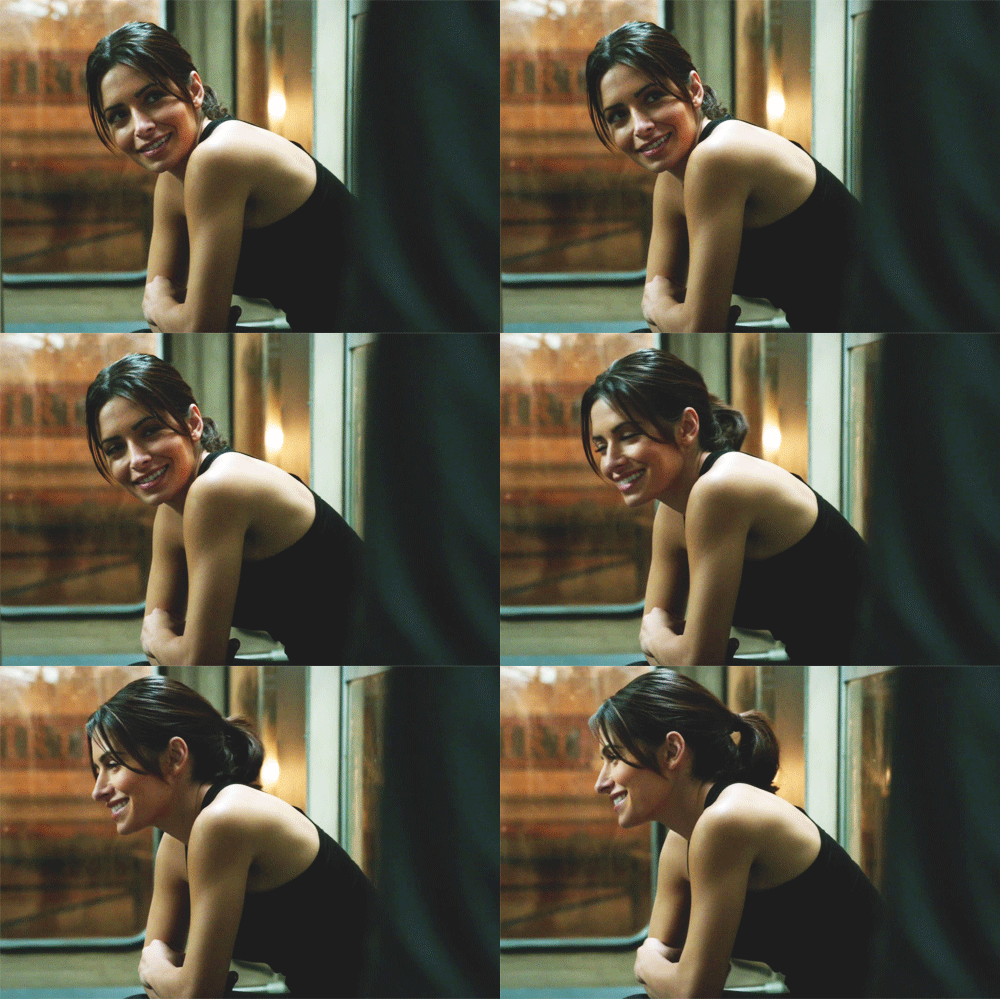
Both of these are from the same gifset, not for any stylistic reason, they were supposed to be the same height, but the second one was just way too large. And so, shortened that sucker.
4) Freeze part of the picture in the back. You can probably notice it in the first gif above, but the background is completely frozen. Not just in the shot itself, but in the gif. You take the layer for the last frame and duplicate it, making sure it’s visible over all the other frames. Then erase the portions where there’s movement. I usually click on the first frame (keeping that last layer selected) and erase where the movement is, it’s easier to compare that with the still visible last layer, then play the gif a few times to make sure there isn’t anything I’ve missed. The idea is to have as small an area of movement as possible for the gif algorithm to have to actually store.
It’s easiest to do these with scenes where the camera isn’t moving, although back in the olden days when we had to fight for every KB, I’d sometimes to try to “force” that same steadiness by selecting all the relevant layers and then going to Edit > Auto-Align Layers and playing around with which option worked best, usually Auto or Reposition for me. That would stabilize the viewpoint such that everything in each frame was in the same place.
This gif is 732KB.
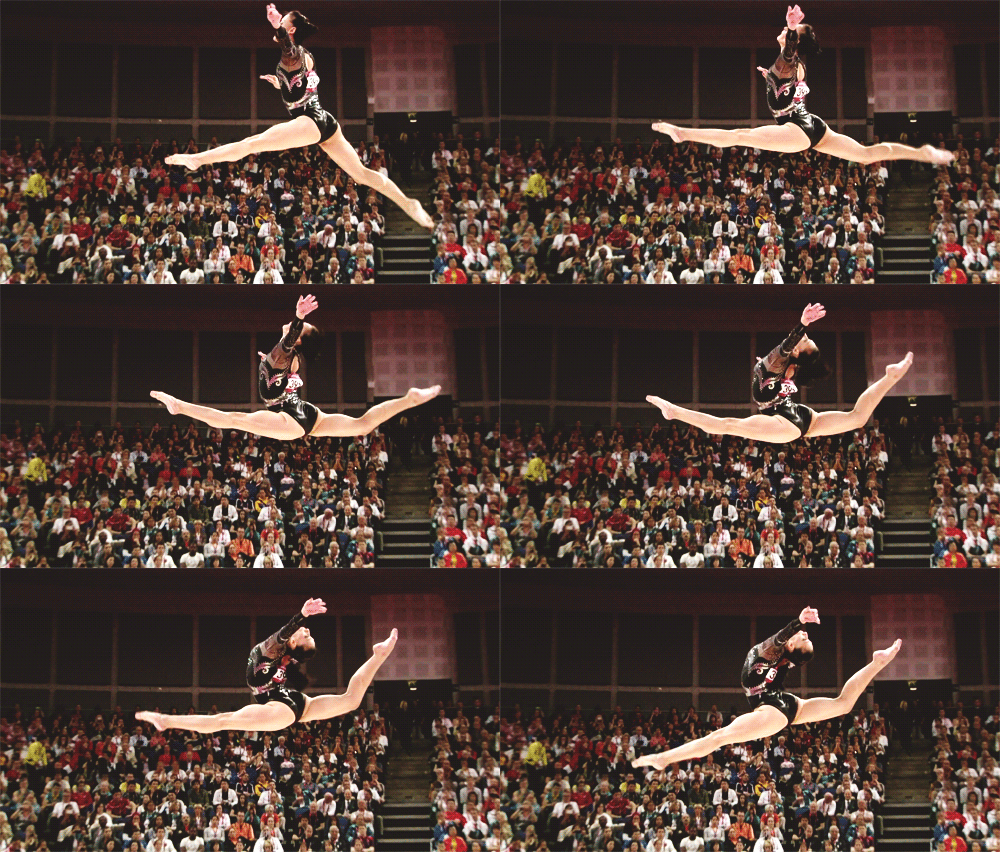
5) Play around with adjustments, specifically Levels or Curves. I usually stick with Curves now, I’ll move it toward the upper left on the top and toward the bottom right on the bottom. Like a good detergent, it brightens the lighter colors and darkens the shadowy areas. It helps on both ends, the brighter you get, the more the gif algorithm sees it as a solid patch of whitish colors, same with the black in the shadows. Last resort is to use the Exposure adjustment and use the Offset slider, just a tiny bit on the negative side will darken it dramatically and usually decrease filesize. Or if you’re in the mood for it, make it positive and go for the mellow look, that lowers the wildly different colors.
This bigass gif is 1.5MB.
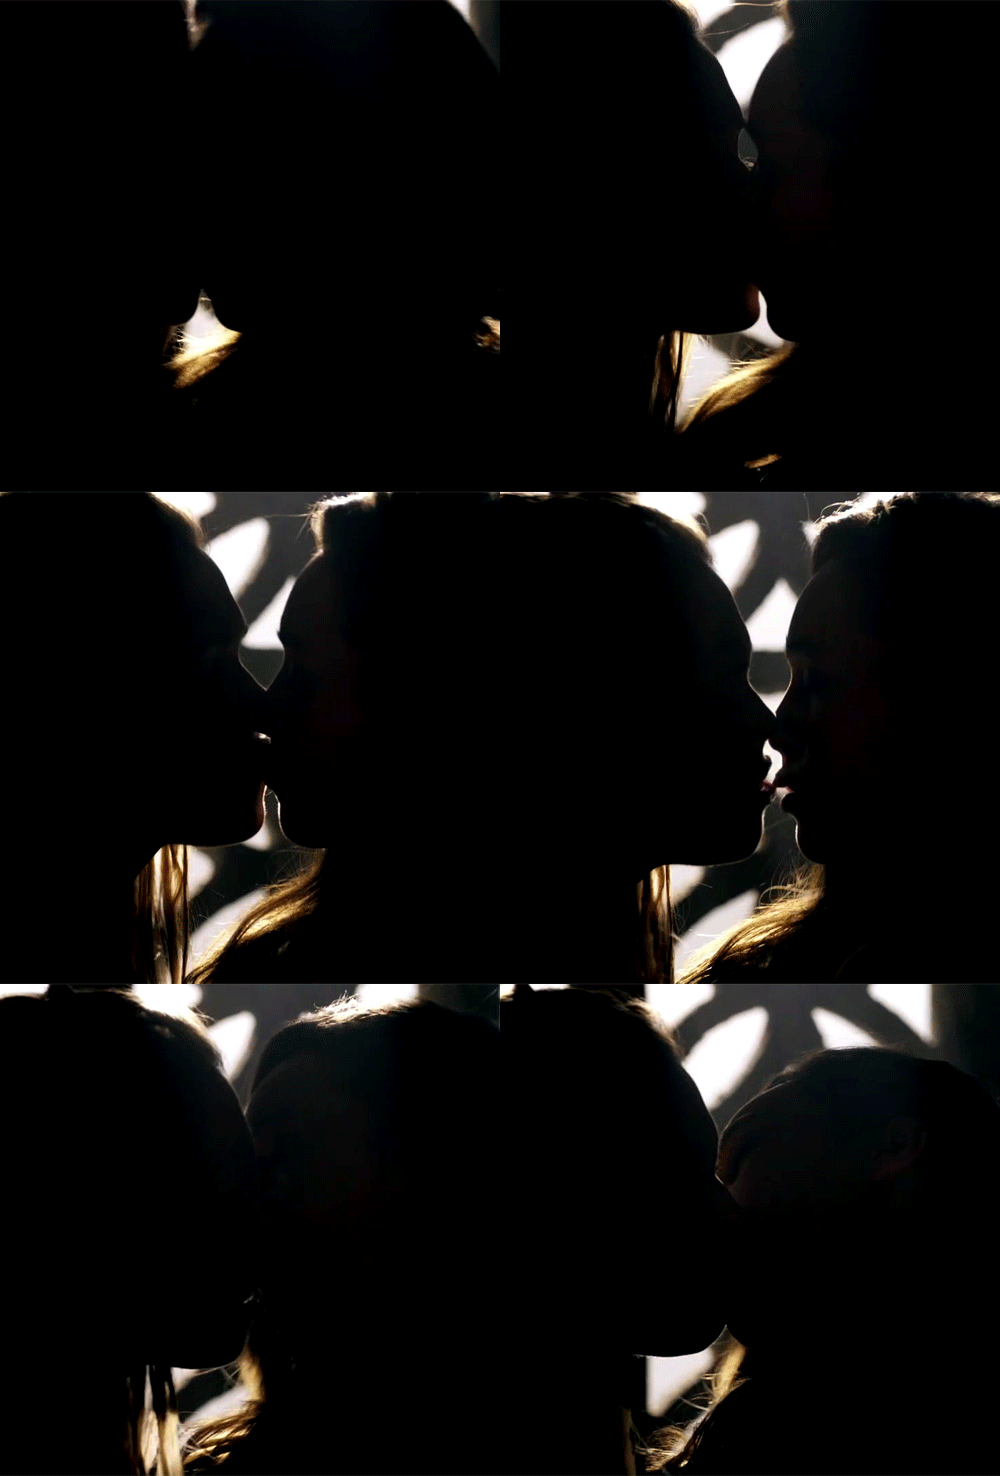
6) Lower the number of colors when saving the gif. This can make a gif look real ugly real fast, but if it’s mostly one tone or if it’s a very busy gif, you can get away with cutting it down to 128 without any major damage. I don’t usually go lower than that, unless it’s a black and white or deliberately styled sepia or whatever coloring to begin with. And speaking of which, that is also an option, to deliberately lower the number of colors, either you can move the saturation down or choose Grayscale when saving. Or instead of black and white, move the whole gif toward a specific color
Had to get this under 2MB (back when), ended up going with just 148 colors (see how it’s a blue-gray-green tone overall anyway):
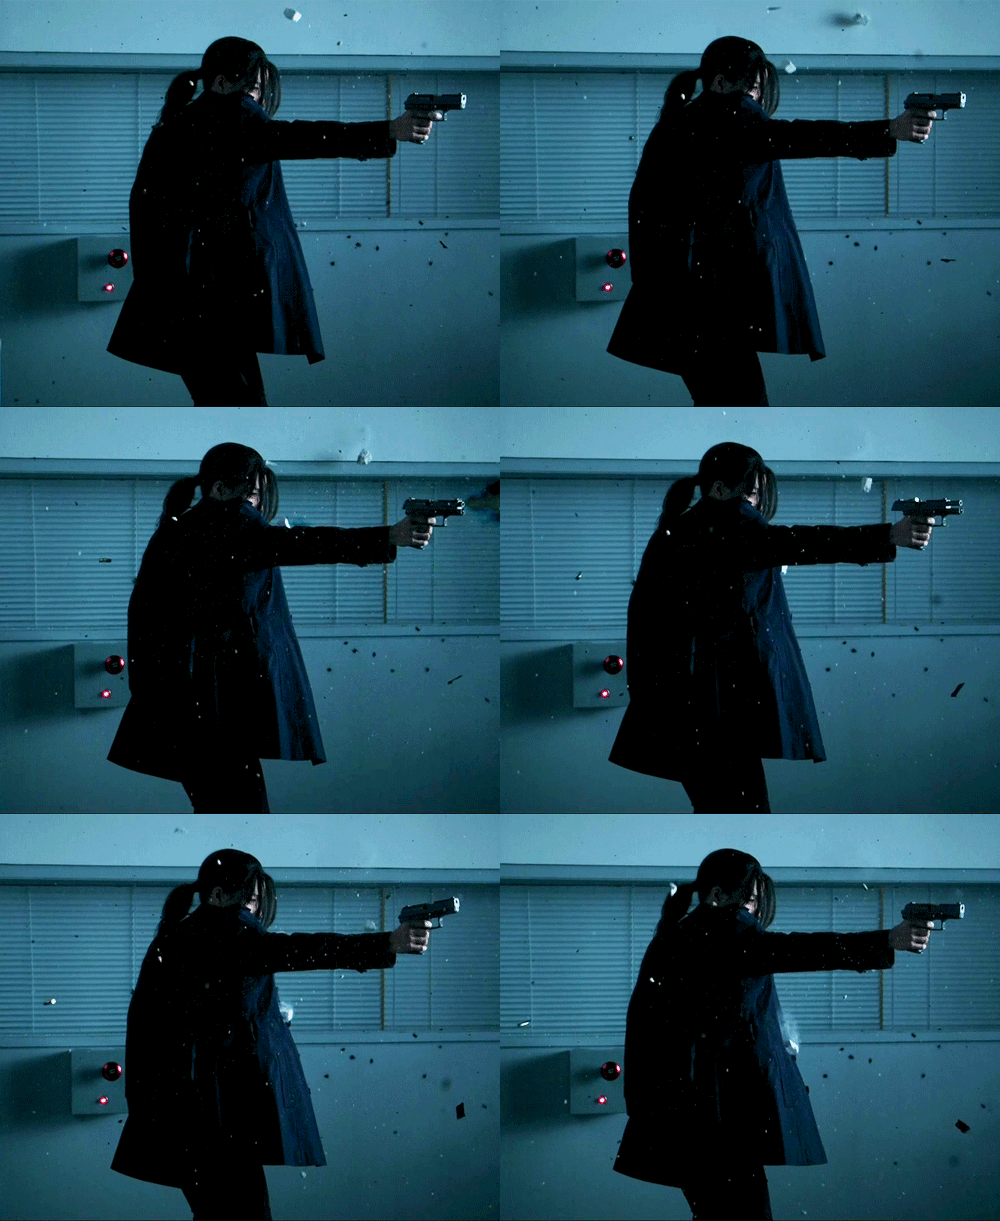
7) While saving, Adaptive is usually the color reduction algorithm that takes the most space, I go with Selective, though it can change depending on the image. In choosing the dither algorithm, I tend to go with Diffusion, although for a while I was all about Pattern (that was the one that that tiny squared grid visible the moment the colors got weird). With Diffusion, you can lower the Dither percentage or increase the Lossy amount, and again, if it’s that kind of gif, you could get a huge decrease in size by just a small modification, but also can look very ugly very quickly.
8) Switch from 540px to 268px or 177px. Sometimes you just gotta make that decision. If you tried everything else and it’s not anywhere near the limit, it may be time to go with the smaller size.
last question, sorry if i’m annoying, what do you change if the gif is too big of a size for tumblr? (as in its over 1MB) again, sorry if i’m annoying you
You’re not annoying, no problem at all, but you know the limit is 3MB for tumblr now, right? Well, it can safely post when it’s up to 2.994MB on my Photoshop, anyway.
There are a variety of ways to get it down to size. Let’s see:
1)
In my previous post, I mentioned how sometimes I’d go for the Limit to Every 2 Frames option when importing video frames sometimes. That halves the number of frames which makes a huge impact on filesize. But it may not be the look that you want. Here’s a gif with every frame left in:

And now every 2 frames:

Still lovely (how could that face not be!) but certainly not the fluid smoothness of the first one either.
2) Remove any extra frames you can. You can also remove frames from the beginning or end of a scene or if there’s a camera switch in the middle, you could remove frames right before or after the switch without it looking too jarring.
I actually have a fun actual example of this one. Way back in 2011, when each gif could only be 500KB, I made a gifset for the Lightning of the Beacons scene in the Lord of the Rings. This is one of the gifs then, found on somebody’s reblog of it, lol:

And here a couple of years later, redone when the limit was raised:

3) Crop it shorter, height-wise. As in, you know the width has to be set at Tumblr specifications, 540/268/177 pixels wide for each of the full/half/third image layouts, respectively, but the height is up to you. Big difference between

and

Both of these are from the same gifset, not for any stylistic reason, they were supposed to be the same height, but the second one was just way too large. And so, shortened that sucker.
4) Freeze part of the picture in the back. You can probably notice it in the first gif above, but the background is completely frozen. Not just in the shot itself, but in the gif. You take the layer for the last frame and duplicate it, making sure it’s visible over all the other frames. Then erase the portions where there’s movement. I usually click on the first frame (keeping that last layer selected) and erase where the movement is, it’s easier to compare that with the still visible last layer, then play the gif a few times to make sure there isn’t anything I’ve missed. The idea is to have as small an area of movement as possible for the gif algorithm to have to actually store.
It’s easiest to do these with scenes where the camera isn’t moving, although back in the olden days when we had to fight for every KB, I’d sometimes to try to “force” that same steadiness by selecting all the relevant layers and then going to Edit > Auto-Align Layers and playing around with which option worked best, usually Auto or Reposition for me. That would stabilize the viewpoint such that everything in each frame was in the same place.
This gif is 732KB.

5) Play around with adjustments, specifically Levels or Curves. I usually stick with Curves now, I’ll move it toward the upper left on the top and toward the bottom right on the bottom. Like a good detergent, it brightens the lighter colors and darkens the shadowy areas. It helps on both ends, the brighter you get, the more the gif algorithm sees it as a solid patch of whitish colors, same with the black in the shadows. Last resort is to use the Exposure adjustment and use the Offset slider, just a tiny bit on the negative side will darken it dramatically and usually decrease filesize. Or if you’re in the mood for it, make it positive and go for the mellow look, that lowers the wildly different colors.
This bigass gif is 1.5MB.

6) Lower the number of colors when saving the gif. This can make a gif look real ugly real fast, but if it’s mostly one tone or if it’s a very busy gif, you can get away with cutting it down to 128 without any major damage. I don’t usually go lower than that, unless it’s a black and white or deliberately styled sepia or whatever coloring to begin with. And speaking of which, that is also an option, to deliberately lower the number of colors, either you can move the saturation down or choose Grayscale when saving. Or instead of black and white, move the whole gif toward a specific color
Had to get this under 2MB (back when), ended up going with just 148 colors (see how it’s a blue-gray-green tone overall anyway):

7) While saving, Adaptive is usually the color reduction algorithm that takes the most space, I go with Selective, though it can change depending on the image. In choosing the dither algorithm, I tend to go with Diffusion, although for a while I was all about Pattern (that was the one that that tiny squared grid visible the moment the colors got weird). With Diffusion, you can lower the Dither percentage or increase the Lossy amount, and again, if it’s that kind of gif, you could get a huge decrease in size by just a small modification, but also can look very ugly very quickly.
8) Switch from 540px to 268px or 177px. Sometimes you just gotta make that decision. If you tried everything else and it’s not anywhere near the limit, it may be time to go with the smaller size.
When you make gifs do you put the video clip into photoshop ?
Yeah, but not Open, I do File > Import > Video Frames to Layers, and then I personally like working with frames, so I keep the Make Frame Animation option checked.
Depending on how long the scene/moment is, I’ll go with Limit To Every 2 Frames or not. It obviously looks smoother when you don’t limit it but then it’s a very short moment.
